# Purchase Screen
This screen is where your users will complete the purchase process for the offering they would like. It contains a Stripe component, which is found in the Component Marketplace.
{% hint style="info" %}
You will need a Stripe account to utilize the Stripe Component
{% endhint %}
## The Components
### **Text Component — 2 Components**
The “Label” text component uses a custom formula — the class price + the service fee ($3.13, in this case). If you do not want to charge a service fee, remove the custom formula and select the Current Class > Price in the text box.
A similar calculation with a custom formula is done in the Text component that displays the total transaction cost.
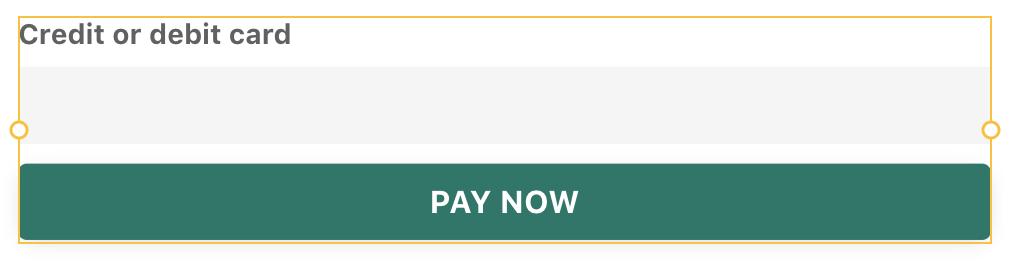
### Stripe Component — Stripe Payment
Follow the instructions in this help doc to set up your Stripe component. Here, you can control the amount paid, the charge description, the receipt email, and the actions that happen after a successful payment.
⚡ **Submit Button Actions**
Each action happens in the order they are listed on the screen. These actions will only occur if the payment is successful.
1. A Create Action to create a record in the Transaction Collection. A mix of Text and Magic Text fills in the associated Transaction Properties.
2. An Update Action to update the Class record and subtract an available spot.
3. A Link Action to the ‘Congrats’ Screen.
## Tips & Tricks
You can test the purchase flow without setting up the Stripe Component utilizing this section:
The ‘DEMO “PAY”’ button is set up with the same settings and actions as the Stripe Component; however, no real purchase will have been made. To collect money for your classes, ensure your Stripe Component is set up.
Once you are finished testing with the ‘DEMO “PAY”’ button, delete the button & the gray help text for your published app.